This technique is very similar to the one with dyeing on a pole, but the results are a little different. I looked for ideas and inspiration online on how to complete this and pinned a whole bunch of them on my Pinterest dyeing board (image is a link there). I am by no means a dyeing expert, so please also do your own research before taking my word on dyeing fabric. I am more of a fly by the seat of my pants kind of a crafter, but thought it would be nice to share the process, however unscientific it was. ;)
To prepare for the process, I washed twice in hot water and then soaked in warm/hot soda ash solution (which ended up being a scouring solution a little bit too). The fabric was then set outside on the drying rack to dry. I had also visited the local home improvement store and bought a 4 yd piece of the thickest nylon rope they had.
After the kids went to bed, I was ready to start the dye process. I laid out the fabric and placed the rope lengthwise on one side. The rope was shorter than the fabric at both ends, but it didn't matter much since the fabric was going to be scrunched up. Next, roll the fabric loosely around the rope.
Above on the left you can see the loose roll. When rolled, start scrunching the fabric towards the middle of the rope. Work on scrunching it together as tight as you can. Some directions I've seen say tie the rope into a loop, but since my wrap was so long, I just made a knot at each end to keep it from unscrunching. I did not use any sort of string or rubber bands to keep it from unravelling.
Next, put the rope in a plastic container and prepare your dye. I used the tie dye directions from Dharma's website to mix up my dye. To give you an idea, I ended up using about 4 cups of dye for this 5 yd wrap. The color was Dharma's Fiber Reactive Procion Dye in color Alpine Blue. The mixing was roughly 2tsp of dye per cup of water. Once the dye was mixed, I used a squirt bottle to cover it as evenly as I could. Rolling the fabric in the bin as I went along and going about 3 times over.
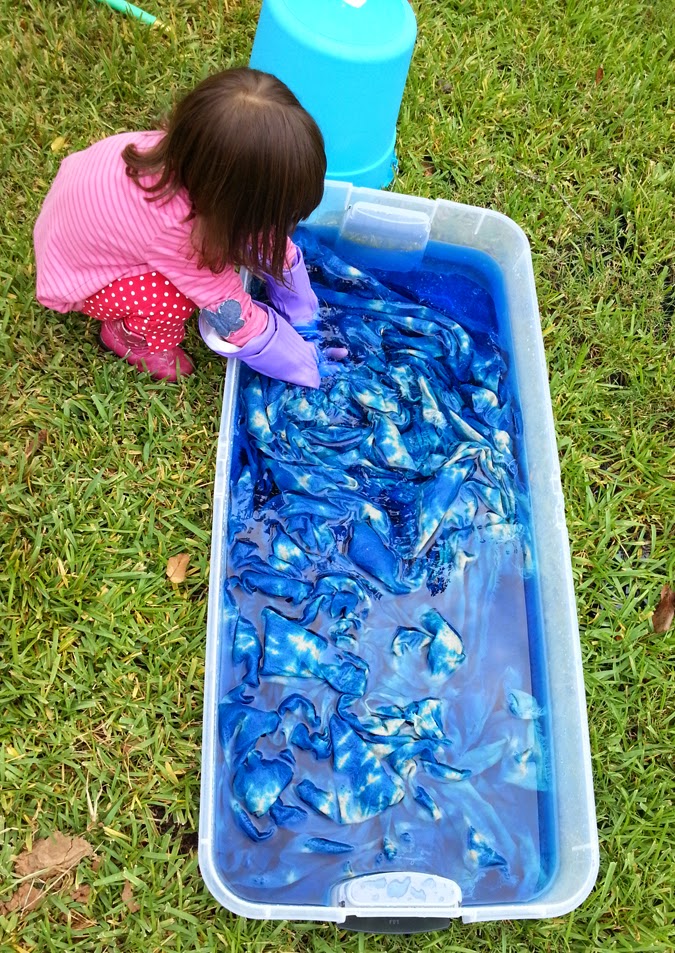
I let the rope sit covered in the garage overnight and we unscrunched it the next morning in the back yard. This is always the fun part! Pull the rope out and unravel the fun. Then it's time for rinse, rinse, rinsing until the water runs clear. My daughter was eager to help me at this stage.
Here is the wrap laid out before rinsing. I love the water ripple effect that is happening there.
Once the water ran clear, I dried it outside in the sun and then cut and hemmed it. I probably should have waited until after washing, but hated the unravelling edges, so decided to hem in between. So after hemming, I tossed the wrap in a hot wash. Here are some shots of it all done. I decided to cut off the edge that was lighter and leave more of the solid edge for the wrap. I figured it would be less busy that way. Here are some shots from tonight before my model went to bed.
I really like the way this turned out. It has a pretty shimmery effect and really looks like sun shining through water. I started thinking if it would be possible to do it again, but with autumn colors to make it look like sun shining through tree branches in the fall...
My final thoughts: Next time use a little less dye, maybe around 3 cups for the same length of wrap to get more of the ripple pattern to come out. All in all, very happy with this and will try again.
Thanks for coming and check out the blog for more fun tutorials. Next time I'll share some pictures of the making of our How to Train Your Dragon Toothless birthday cake.


