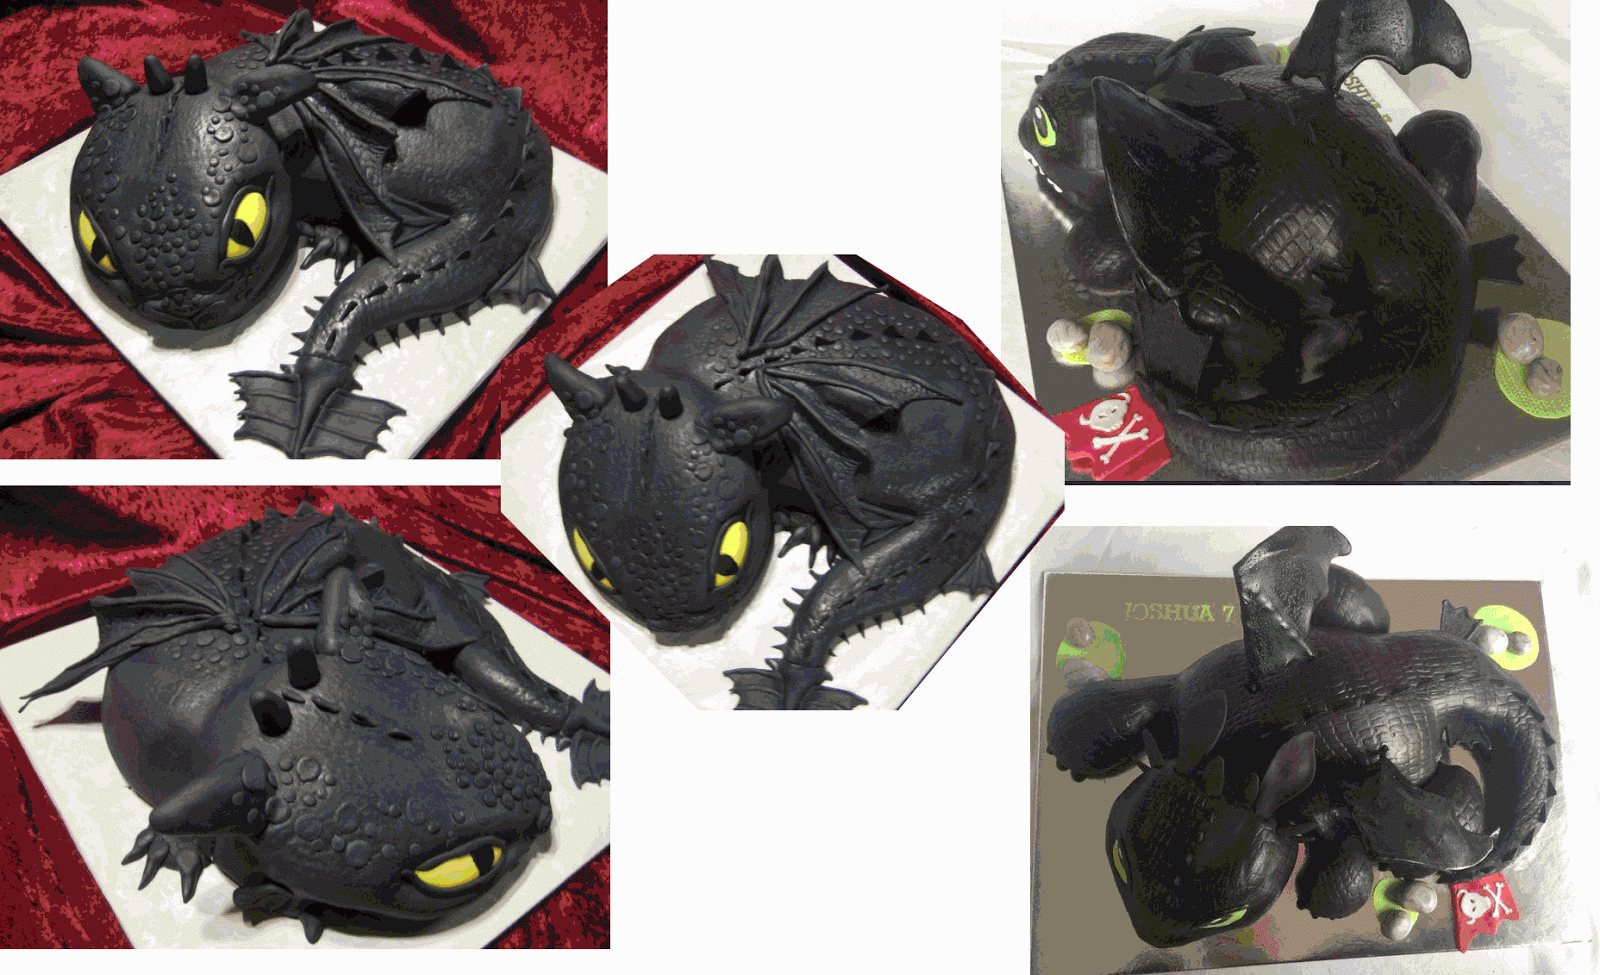
Thankfully Pinterest came through again for inspiration. I started a board for a How To Train Your Dragon themed birthday party with lots of pictures of cakes and got two more ideas to make a toothless plush dragon for a gift and a toothless hoodie costume that would be for halloween.
Here are the cakes that I found closest to what I wanted to make for my daughter:

I decided to make the body from a white cake and the head from chocolate. Since I've never done this before, I pretty much winged it and this is photo story of how I did it.
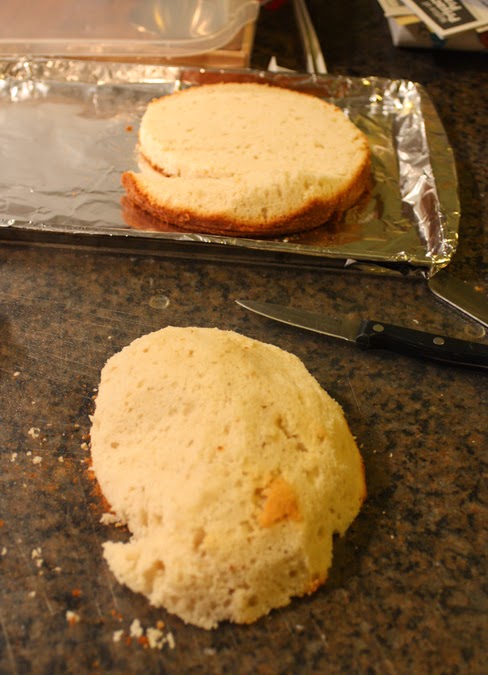
Body: I took the yellow cake and cut it with a knife into the basic shape of the body and tail.
The filling was a combination of mashed banana and applesauce and whipped cream on the top. Before putting the filling on, I spooned a little bit of apple juice on the cake base to moisten it.
Cake cut in half before the filling goes on.
Filling going on.
After the filling was on, I put the second layer on and cut another little piece off the top and filled it. Once the top layer was filled I did a coat of whipped cream on it to keep the crumbs from coming off. They always do it on the TV shows, so thought I should do it too. ;)
I have never done fondant before, so the next step was very interesting. I had some white fondant which I added black coloring to. Once it was dark enough, I rolled it out dusting with powdered sugar as I went to keep it from sticking.
I got it on the rolling pin and stuck on the body tucking it in the best I could. From the leftovers I cut little triangles that I used for the spikes on the back and the fin on the tail.
For the wings, I just kneaded and rolled out more of the leftovers and made shapes. I don't know how you are supposed to get this stuff to stick, so I wet the bottom a little and then uses pins to keep it in place until it set. It seemed to work out fine.
Then for the Head: I cut up the chocolate cake and looked at it by the body. I had to go back and forth a couple times to get the shape and size right. From the cut out cake edges I took little mini pieces for the flaps at the back of the head. The head had one layer of filling on the inside and the crumb coat before the fondant could go on.
Then another piece of fondant was rolled out and laid on the head. I used a pair of scissors to cut around the flaps and a butter knife to pat/tuck it around them. After the fondant was on, I realized I should have kept a bit for the eyes... How I solved that problem was to use cutout edges from the yellow cake, shave them very thin and use them as eyes. Not the brightest color, but the best I could do at 10pm day before the party, and they are completely edible and use no additional artificial colors! After shaving them thin, I cut out eye shapes from the fondant and tuck the cake pieces inside the eye holes. They stuck really well and actually looked cute I thought. Then I just added the candle and lettering for her name. (I had to use a cake pan covered in foil, since I didn't have anything else large enough. We were having a tiny party anyways, since we just moved and don't know anyone here yet.)
So here are some pics of the finished cake. I'll try to post some pics of the dragon plush and costume tomorrow. I've also worked on so many other things but have a hard time remembering to take photos working a million miles an hour with whatever free time I have. There's also a pair of awesome linen pants I finished yesterday, so maybe that can be the next post. :)


