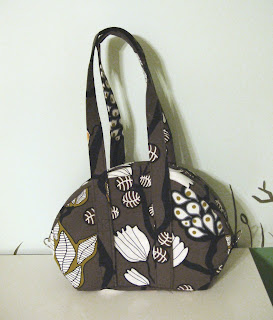
After cutting everything out, adhering interfacing and ironing, the zipper is one of the first things I sew. With this technique the bag ended up being a little skinnier than the previos ones, so if you want it to be wider, make the top part of the outer fabric wider.
- sew the outer fabric down the middle like you are supposed to according to the pattern, I sewed a larger seam than the pattern asks for. (see picture, on left)

 -sew the lining to the underside flaps of the outer fabric. Press the seams flat. You can see on the right side that the lining ends up being really wide this way, I just cut it so both layers are same width.
 -next place zipper on the back side of the flap facing down, pin in place and sew all the way around. Voila!
-now to attach the two short pieces at either end, I made kind of an X-seam, so that both the front and lining fabrics can be attached. Sew all the 4 edges separately, and then the small distance in the middle, I sew that flat through all the layers. (See pictures, the middle has not been sewed yet, there is still a hole)
-after this, I attach the handles and pockets to the side panels.
 -also something else that worked out, was attaching the lining and outer layer together before I turned it inside out. I just sewed the two layers together at the top. (see picture)

There are also two portfolios that I will be in so I finished two prints for those. One of them was a little ant print, that I got the inspiration for from Proverbs 6:6


 In the photo above, you can see a detail from the lining panels. I stitched the edge of the pocket and side panel together to make it easier to stitch to the top.


