

The way I stitched the zipper in was the same way as the directions tell you to, but I added the lining layer to the stitching as well. You can see it in the picture, basically stitching all the way around the zipper locking it in between the top and lining. Then just open the basted stitches and voila! You're done. The rest of the bag is stitched essentially the same. I sewed the lining together first, leaving one of the long sides open to turn the bag inside out effortlessly. It will be a lot more easier to sew this shut than trying to sew the lining by the zipper. I guess the sewing can be a little bulky at times, but it wasn't that bad.
 In the photo above, you can see a detail from the lining panels. I stitched the edge of the pocket and side panel together to make it easier to stitch to the top.
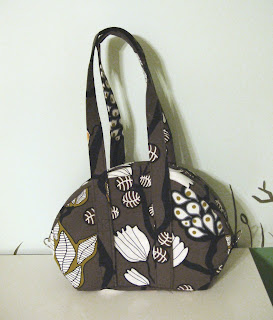
Here is the bag turned right way out. I was going to slip the rigid bottom in between here before sewing it closed. Below are pictures of the finished bag.


No comments:
Post a Comment